Showing posts with label clay. Show all posts

Friday, July 10, 2015

Wild & Wacky Science art for Juniors WOW

We took a new direction and did some experiments, some art process, added an architectural project and did a rolling waterfall of color as our exploding paint. We started with a crystal painting project using epsom salt in super solution. Once everyone understood that heaving painting was required it really worked well. RECIPE [ 1 cup very HOT water, 1 cup+ epsom salts, food color or tempera paints] 


We did a project experimenting with how to use oil pastels and talked about why they reactions occurred then created a small picture. we used baby oil as our medium as it is more kid friendly than mineral oil or some other solvents. 
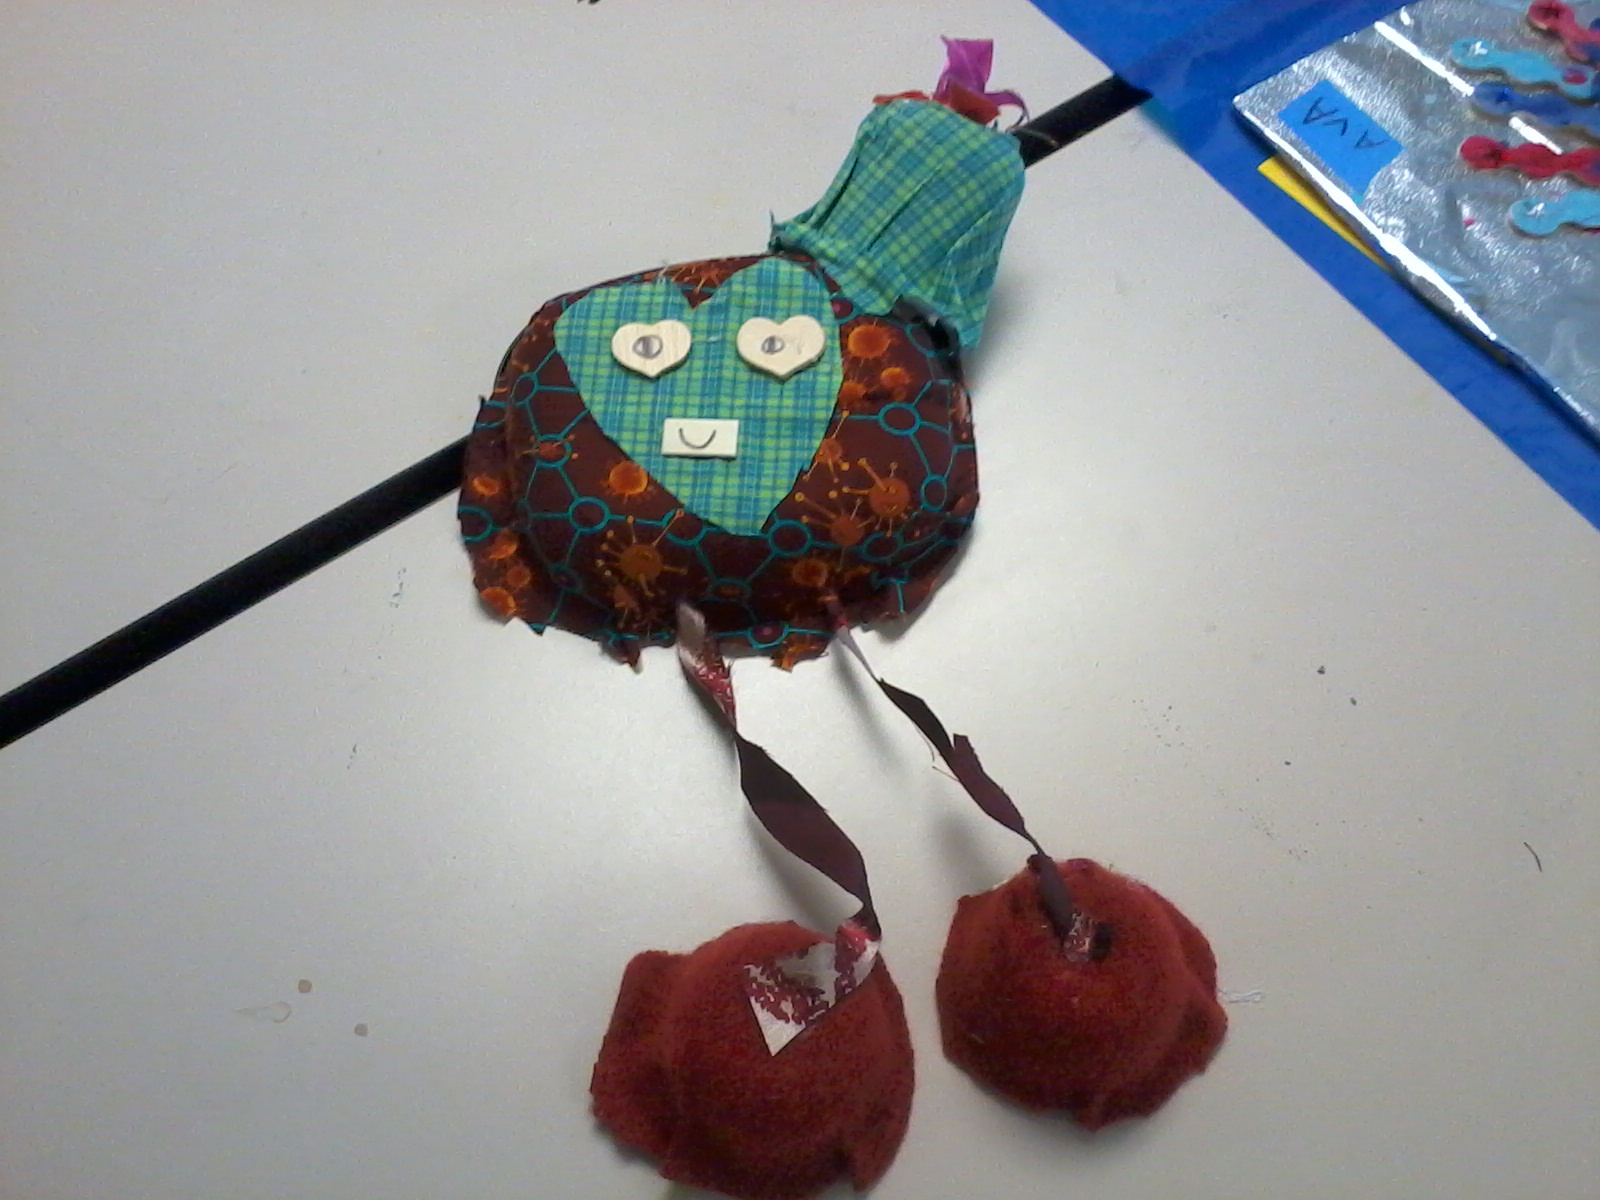
Clay is always popular at camp and we used plain polymer clay to make medians then imprinted them using small pinecones, shells and other natural items. The camper made them into necklaces, mobile hangers and more by painting them after we baked them  and stringing them onto cording. 
We tried out the chemical reaction between permanent markers and alcohol on a CD and although the kids were pretty pleased, I felt it should have worked better. The marker ink does spread and is fun to watch the changes. 
We also got to use stretchy clay to make critters. It was a bit older and does not really work well to stretch and pose. the critters they made pleased them though. It is much smellier than regular polymer clay. 


Wednesday we looked at structural items made from crafts sticks and talked about and looked at ones like the Eiffel tower. The kids then created some pretty impressive projects using the sticks and some other small wood pieces. Some spent most of the day working on it, others finished early and went on to complete other projects or lend a hand on one of the projects still under construction. 


We spent some of the last day creating airplanes from clothes pins, crafts sticks and helicopters from folded construction paper helicopters so we could fly them. flying helicopter http://babbledabbledo.com/diy-toy-paper-helicopter/  

The junior councellors went all out to get a project working to explode the paint. We tried film canisters of two kinds with their own tops and with corks to no avail. Then they lined up all the canisters and had the kids put in baking soda and tempera powder and slowly went down the line pouring vinegar into all of them. It is between a colored rolling waterfall and a skittles fountain. skittles fountain The kids love the reaction between vinegar and baking soda but without a larger bottle to blow due to the gas nothing blows up. 

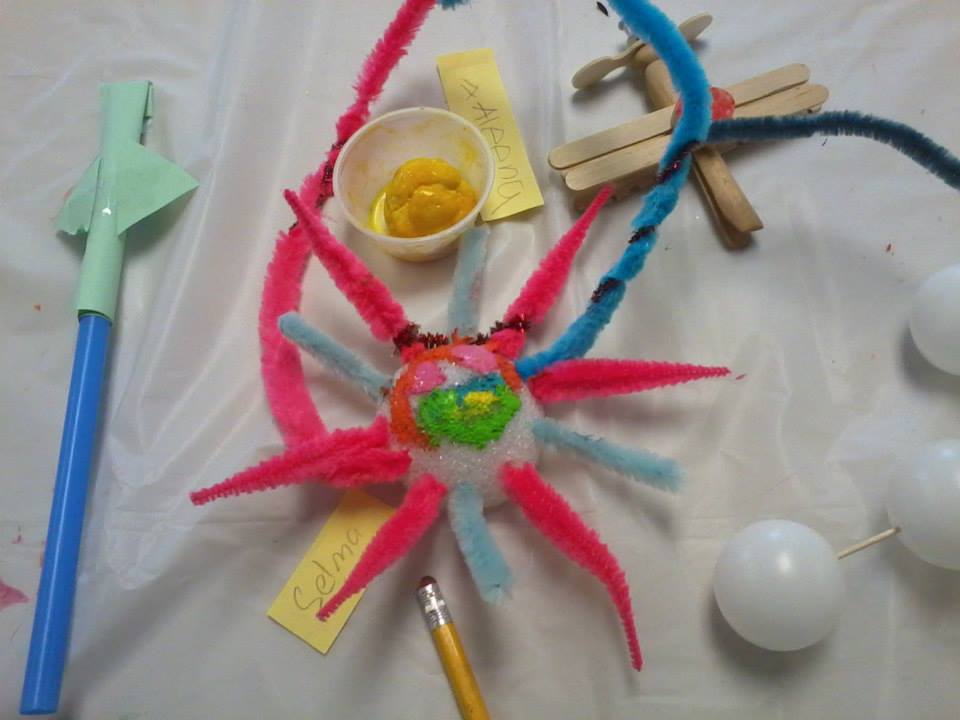
Our last 2 projects were to use the styrofoam eggs and balls with ping pong balls and create an alien and make bouncing balls from borax and glue. Not sure which one was more fun but getting the large amount of food dye off the kids requires baby oil, dishwashing detergent and lots  of scrubbing plus some color theory on complimentary colors and why that helped get the color off more quickly, i.e. red on green. 

We have an album on Facebook with many more pictures for you to view. 

Friday, June 19, 2015

NOT your momma's art camp!

 Not your Mama's art camp got off to a fantastic start with Mexican Peacocks and Kooky birds. This is Kat's first camp to be in charge of and what a great one it is. The kids are so creative and every project was unique. 

We used a variety of crafts sticks and wooden pieces for the peacocks then the kids painted them. Continuing with the birds theme we used small black microwave trays that the kids covered with fabric then the they  added more fabric and other items to make a tail, head and LONG legs with very big feet. At the end of the day they got to do some painted feathers. We all learned a lot on those and the watercolor ones were the very best. 


2nd day and we were making Crazy critters from a piece of cardboard, construction paper, wood scraps, and plastic scraps. The kids really got into it though creating a real variety of critters. We moved on to a recycled project with berry boxes cut into shapes to make a sun catcher. Used tacky glue to adhere the gems then broke out the glitter for those who needed a bit more glitz. 


We finished up with a marbling project using model paints that were donated to us. Great selection of colors and these really work to marbleize tiles (hands and nails too apparently!) We glued corks to the back of the tiles so we'd have a handle and not get our hands in the enamel--that did not last long!!!


3rd day was off to a great start using polymer clay for 2 of our creations. Kat got to make custom colors for us tinting white clay with oil paints. It does not come off on your hands any more than the already colored.  we got almost no pictures of the sewn pockets but over half the camp had never sewn anything and did a great job. I kept hearing--first time I sewed a button on, first time I ever sewed. So much fun with the 7 layer masks that Kat created  using fun foam. The kids had to trace the patterns and fit them together. We were able to use a great donation of tiny clay pots to form our Kandy Korn Kritters. 

Friday, June 27, 2014

3D camp with lots of media @ the WB Annex

I have to say that our project today is probably one of the best we have done at camp. we really took the time to get every detail on every one of them exactly the way we wanted them. then we spent time painting a mountain on really big newsprint paper. Just fun to do and a lot more painting than anyone ever expects.


we tried lots of things today with a focus on 3D and textures. We made a multi-layered object then marbled it with shaving cream paint. we liked it so much we did cards too. We made a butterfly with foil wings and a beaded body then gave the wings a coat of shiny paints. we used the marbling paint on coffee filters then made bowls and vases out of them and last we shredded a lot of crayons and made melted wax pictures. Thanks Kat Sands for teaching a lot of the sessions this week.

Tuesday, June 24, 2014

All about clay recipes

so many asked what the recipes were for the clays we used at camp this week and at the library program in addition to the polymer clay and fireable clays. I found all the recipes on the internet and am thankful for the thrifty moms who post.

No Cook Salt Dough Recipe

Ingredients
2 cups white flour 
1 cup salt 
1 cup water
1 tablespoon lemon juice  this makes it dry harder)
1 tablespoon oil ( this makes the dough easier to work with)

Instructions
1. Mix the flour and salt very well in a medium sized bowl.
2. Add half a cup of water, and the oil and lemon juice if using. Mix well.
3. Gradually add more water, bit by bit, until you get a workable, non sticky dough.
4. Shape to your heart's content. I had the kids make whatever their heart desired, while I made beads and buttons to use for a future activity. Lee made a "choo choo train", while Ike made... who knows? A sun? An octopus? A pile of mush? He kept on changing his mind.
5. If, while shaping, the dough starts getting a little too dry, add a sprinkle of water (but just a sprinkle!) and mix it in to the dough.
6. Let your salt dough dry for 3-4 days, turning over every 24 hours to help it dry faster. If you want it ready quicker, stick it in the oven on a low temperature for an hour or two.
7. When dry, paint as desired.bowls, salt, flour, water, wooden spoons,  

Cornstarch salt clay
3/4 cup flour
1/2 cup cornstarch
1/2 cup salt
1/2-1 cup water
1 tsp oil
powdered tempera paint

Instructions
1. Mix all dry ingredients in bowl with spoon or fork.
2. Make a well in the center, add oil, and begin to add water until the clay starts to form a ball.
3. Turn onto surface and kneed until smooth. 
4. put into sealed bag if not using right away. If it seems to damp add a bit of cornstarch, if too dry a spritz of water.

Homemade Polymer Clay
  • 3/4 cup white glue
  • 1 cup cornstarch
  • 2 tablespoons mineral oil (I used baby oil but reportedly even vaseline will work)
  • 1 tablespoon lemon juice
  • Non-stick pot
  • Wooden spoon
Steps
Add cornstarch to glue in a nonstick pot. Mix together and then add mineral oil and lemon juice. Blend well.

Cook over low flame stirring pretty much constantly (you can take a quick break or two if your arm gets tired, which it will) until the mixture resembles mashed potatoes.

Remove from heat! Squirt a little additional mineral oil around the top of your mashed potato mass and with your hands, remove it from the pot. Knead until smooth. It's best to do this while it's still as hot as you can handle.

Pull off a bit to work with and put the rest in a re-sealable plastic bag with the top about half-way open until it's cooled down a bit. Then seal the bag (with as little air in it as you can) and store in the fridge.

Let dry about 2-3 days, then paint, or not.
- See more at: http://thenewnew.blogspot.com/2011/06/homemade-polymer-clay.html#sthash.cPDpQEC5.dpuf

Friday, July 12, 2013

Dragons and mythical creature art mini-camp @WB Annex


Dragons was a popular camp session a couple of years ago so we decided to expand it and repeat it this summer. We started the week making a clipboard project from a library book, Funky Junk and went from one medium to another getting dragons, fairies, unicorns, and more created.  

We used small lemonade drink bottles as the base for our paper mache project. The mache was created from envelopes and school glue but was too wet so it got to spend a day in the oven at 225 degrees. It dried out well but the bottles got kind of puffy on the bottoms so to paint them we had to nestle them onto foam sheets. The kids made everything from a penguin to creatures from movies complete with swords.

I was given some red fabric that seemed just the thing to make dragon banners at camp. the kids did not have to draw their own dragons but they picked their colors and techniques to paint them. At the end they could use squeeze paints to outline and highlight some of the areas.
Fimo or sculpy clay is really colorful but was hard for us to work with in the past. I cut lots of dowels into rollers and once we got the clay soft the creations began. They not only made unicorns and dragons but an assortment of items for the fairy gardens the next day.
Using gourds supplied by a friend and lots of "stuff" each camper created a fairy or dragon garden on a base of styrofoam.  We had a number of grassy items from model RR and floral kits, stones, tiles, silk flowers, silver rings, small pieces of wood for signs, our clay mushrooms and pieces, little birds and lots more that I was able to accumulate.

Many more pictures are posted online on FB:
Dragons art camp day 1
Dragons art camp day 2
Dragons art camp day 3

Saturday, July 14, 2012

Fun with Dr. Seuss @art mini camp


 Doesn't everyone love Dr. Seuss? It has been fun to work with some of his lesser known stories and create the projects based on these. We started with reading "The 500 hats of Bartholomew Cubbins" then made folded hats decorated with our own feathers made from paper shred. The kids really had a good time with the book and getting into character wearing the hats. 


We read "Wish for a Fish: All About Sea Creatures" one of the Seuss learning library books and made our own aquariums. I had planned on using " McElligot's pond" but it is really long and was good to have as a resource instead. The kids drew fish, plants and other sealife then mounted them in a clear blue tub. 
 We continue on through "Oh, can you say din-o-saur" and "the things you can think" creating a decorated frame for a picture drawn by each camper. Our dinosaur project in clay produced a Trex, dino eggs, and a few dinos that even they could not identify. We tried our hands at drawing the features of a maze too to go with
 "I had trouble getting to Solla Sollew". Time was flying trying to fit it all in.

 We were given some corks that looked so much like giraffes and paper for many animals that we created Seuss type animals from the corks and chenille stems. We read " Horton hatches the egg" then painted wooden eggs with metallic tempera and colored the winged baby elephabird for the egg. 
We made nests complete with eggs and mama birds after reading "Fine feathered friends: All about birds" another Learning library selection.  The nests were paper shred on a cardstock base. The birds were more complicated with 2 fuzzy balls, feathers, a beak and wiggle eyes. We totally did not do tails on our birds!

Sunday, June 24, 2012

Incredible insects at art mini-camp

 The group began the week creating books to capture some of the projects for the week. I pulled art work from Pixar's Antz and Bugz for them to use as examples. They then colored their drawings with colored pencils. We worked on shading some of the edges.


Most of the group saw the egg critters the younger kids made earlier in the day and had to create one. It was good learning on use of glue guns and design.


 For the next project we used milk cartons and a variety of woody items, pine cones and glue to create a bug habitat. This group did not want bugs to inhabit these and were generally not into insects--hard crowd on this but the trip to look for bugs turned into more of a science project as they discovered their magnifying glasses could concentrate light and ignite leaves and wood fuzz. 
Edible projects are fun to do and usually intrigue most of the kids. I secured kits from the Smithsonian to make gummy bugs. They had to measure and mix and use pipettes to fill the forms. A day's wait and removing the gummy bugs was a bit hard but we got it done. Apparently they didn't taste too bad as they were all gone.

 We worked with clay a lot over the last 2 days and a couple of kinds of clay and processes. The cornstarch clay was a bust for sculpting but we made it thinner and layered it onto cards to do a puffy project. Into the microwave for 20-30 seconds and they were amazed to have puffed bugs to paint. The flour/salt clay made up well and each of the campers has a tray full of creations--penguins, computers, sofas, pizza--no insects but great work with the palette knives and shaping. So much so that we made a 2nd batch to work with in class.

Kat thought they would like to draw the Tracker Jacker from Hunger Games and the Mockingjay so led them in the drawing project. The drawings are really good and the coloring and shading are coming along.


We discussed scarab beetles and their place in Egyptian culture then used Fimo clay to create one for our last project. Our favorite example was the brightly colored beetle with metallic blue, green and gold. some painted their this way but most went for bits of gold. They learned how to soften and manipulate this clay and make legs and eyes stick.

Incredible Insects art mini-camp JR


We started the week off reading books on bugs then making our own books. The kids learned how to keep the books together and add pages. We decorated them liberally on the cover then went inside to decorate them more. we next learned how to made fingerprint bugs which were a lot of fun. Our next project at right was creating a variety of bug--a fat but very cute bug from an egg, a dragonfly from a clothespin and a bottle cap butterfly. Great creations one and all.

 Our next focus was on butterflies so we started by painting them with metallic tempera paints then created glitzy butterfly masks to wear. Before we went out on our bug hunt we decorated our bug collectors making them into bugs with big fluffy heads.
We grabbed our special magnifying glasses and went hunting for bugs in the yard. The glasses include a set of tweezers but most of the kids just scooped the rolly pollies and snail shells up in their fingers. We also found ants and spiders out there.
The kids were excited to be able to take the magnifying glasses home. Great find at Dollar Tree.
Our last day we got into the clay to create a bug house or bee hive for the bees from salt clay over a small flower pot. The Jr. Councellors had stamped out spiders in clay the night before so the campers could paint them. We used tempera cakes to paint them and the made our spiderwebs from construction paper strips and donated embroidery hoops. Turned out really good and most got a bead or two for the bugs that got caught. Lastly we closed with ants on a log but used graham cracker strips instead of celery to put the peanut butter and raisins on top. Must have been good as none were left.

Friday, June 15, 2012

Wild & Wacky Science art camp day 3


we stated the  day with a 2 part project. We used construction paper and sequins to decorate altoids tins and serve as our rock boxes. Some were far more encrusted than their rocks. We then used more of the fimo clay to create different types of rocks--some with holes punched in them, some painted gold or with glow in the dark paints, some with a granite type look or ones with inclusions.
Our second project was one of color and movement of fluids. We started with coffee filters and colored many colored dots on them then dipped the edge in a plate of water and waited for the reaction. There were lots ohs and ahs as the colors spread but not nearly so much as the colloidal reaction. We used a plate of milk with food color then tried the effect of a Qtip--nothing, then a Q tip with detergent and the reaction was dramatic. The kids were then encouraged to gently stir the colors. Eventually of course it made a muddy color but was interesting as they went.
our last 2 projects were dymanic--we tried the experiment of propelling a soda bottle with vinegar and baking soda. Sometimes the bottles got corked and not quite flat on the floor before going off other times the cork had all the motion not the bottle, but sometimes the bottle scooted just as it should have. No matter what the kids really got into this very messy project. Secondly they used styrofoam egg cartons to make gliders and launch them. Most of them got them to fly a little way. I'd say we need some work on this one.
We finished off the week looking at our geodes which are crystalizing and our crystals. None of them glowed well but the crystals were pretty good.
Another 2 science camps are planned later in the summer.

Wild & Wacky Science art camp 1


The camp got off to a fun start making glow in the dark crystals and setting up for geodes. We got all the solutions mixed and the eggs all settled into their cups to try and grow crystals. Mine grew much more slowly than the example one so we are on wait and see. We moved on to mousetrap catapults. At first many of the kids were afraid they'd snap their fingers but once they got enough tape onto the blocks they relaxed and got the devise constructed. we then moved to the adjacent room for testing. The pictures show a LOT of testing. No one was afraid anymore! We measured how  far several items could be launched--pompoms, tape wads, and paper wads. Mostly they were excited that they could shoot each other with the soft items. Our last project was to make salt/flour clay and sculpt with it.  Everyone learned how to knead and use palette knives to help them in working with the clay. This one is air dry so they just took them home to dry.

Sunday, May 20, 2012

Cute clay bugs @ WBCL

 What can be more fun than clay and fuzzy chenille stems to craft a spectacular bug? We started with salt and flour clay in a  dark green brown. We handed out the stems for legs, wings, and antenna and let the creations take on a life of their own.

AD