Friday, June 19, 2015

NOT your momma's art camp!

 Not your Mama's art camp got off to a fantastic start with Mexican Peacocks and Kooky birds. This is Kat's first camp to be in charge of and what a great one it is. The kids are so creative and every project was unique. 

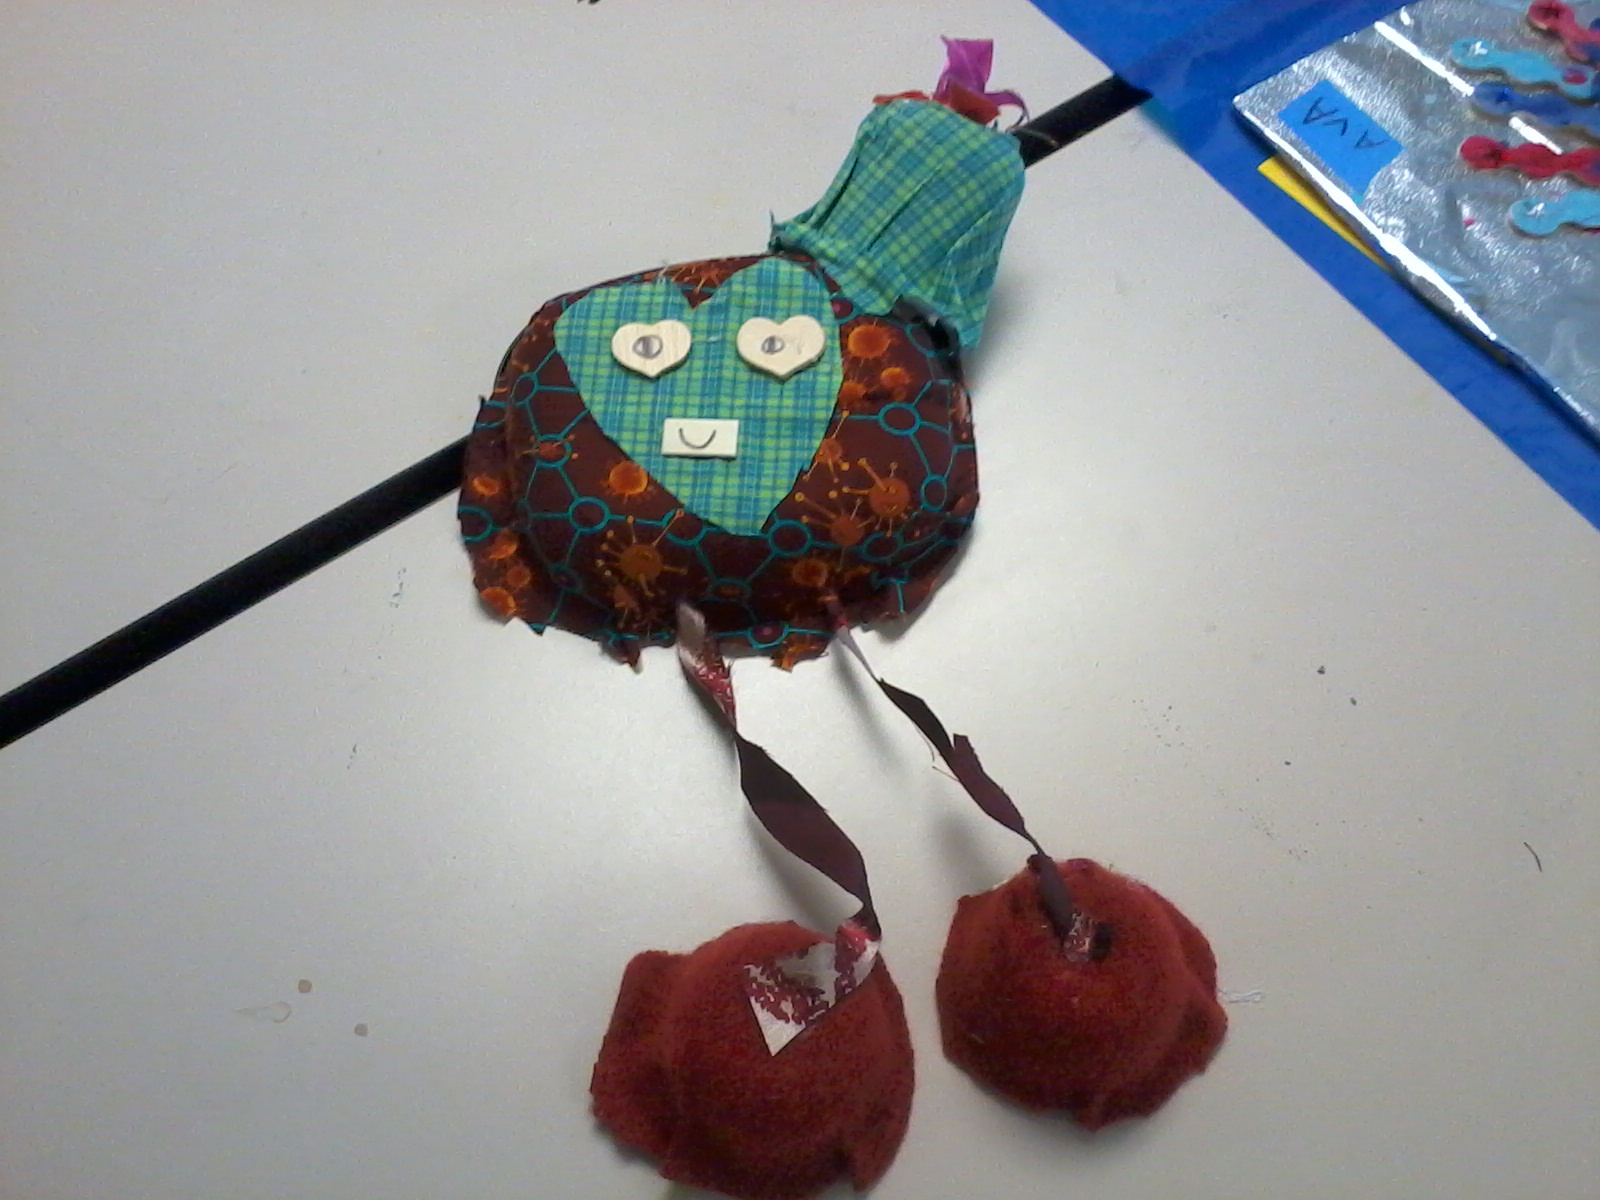
We used a variety of crafts sticks and wooden pieces for the peacocks then the kids painted them. Continuing with the birds theme we used small black microwave trays that the kids covered with fabric then the they  added more fabric and other items to make a tail, head and LONG legs with very big feet. At the end of the day they got to do some painted feathers. We all learned a lot on those and the watercolor ones were the very best. 


2nd day and we were making Crazy critters from a piece of cardboard, construction paper, wood scraps, and plastic scraps. The kids really got into it though creating a real variety of critters. We moved on to a recycled project with berry boxes cut into shapes to make a sun catcher. Used tacky glue to adhere the gems then broke out the glitter for those who needed a bit more glitz. 


We finished up with a marbling project using model paints that were donated to us. Great selection of colors and these really work to marbleize tiles (hands and nails too apparently!) We glued corks to the back of the tiles so we'd have a handle and not get our hands in the enamel--that did not last long!!!


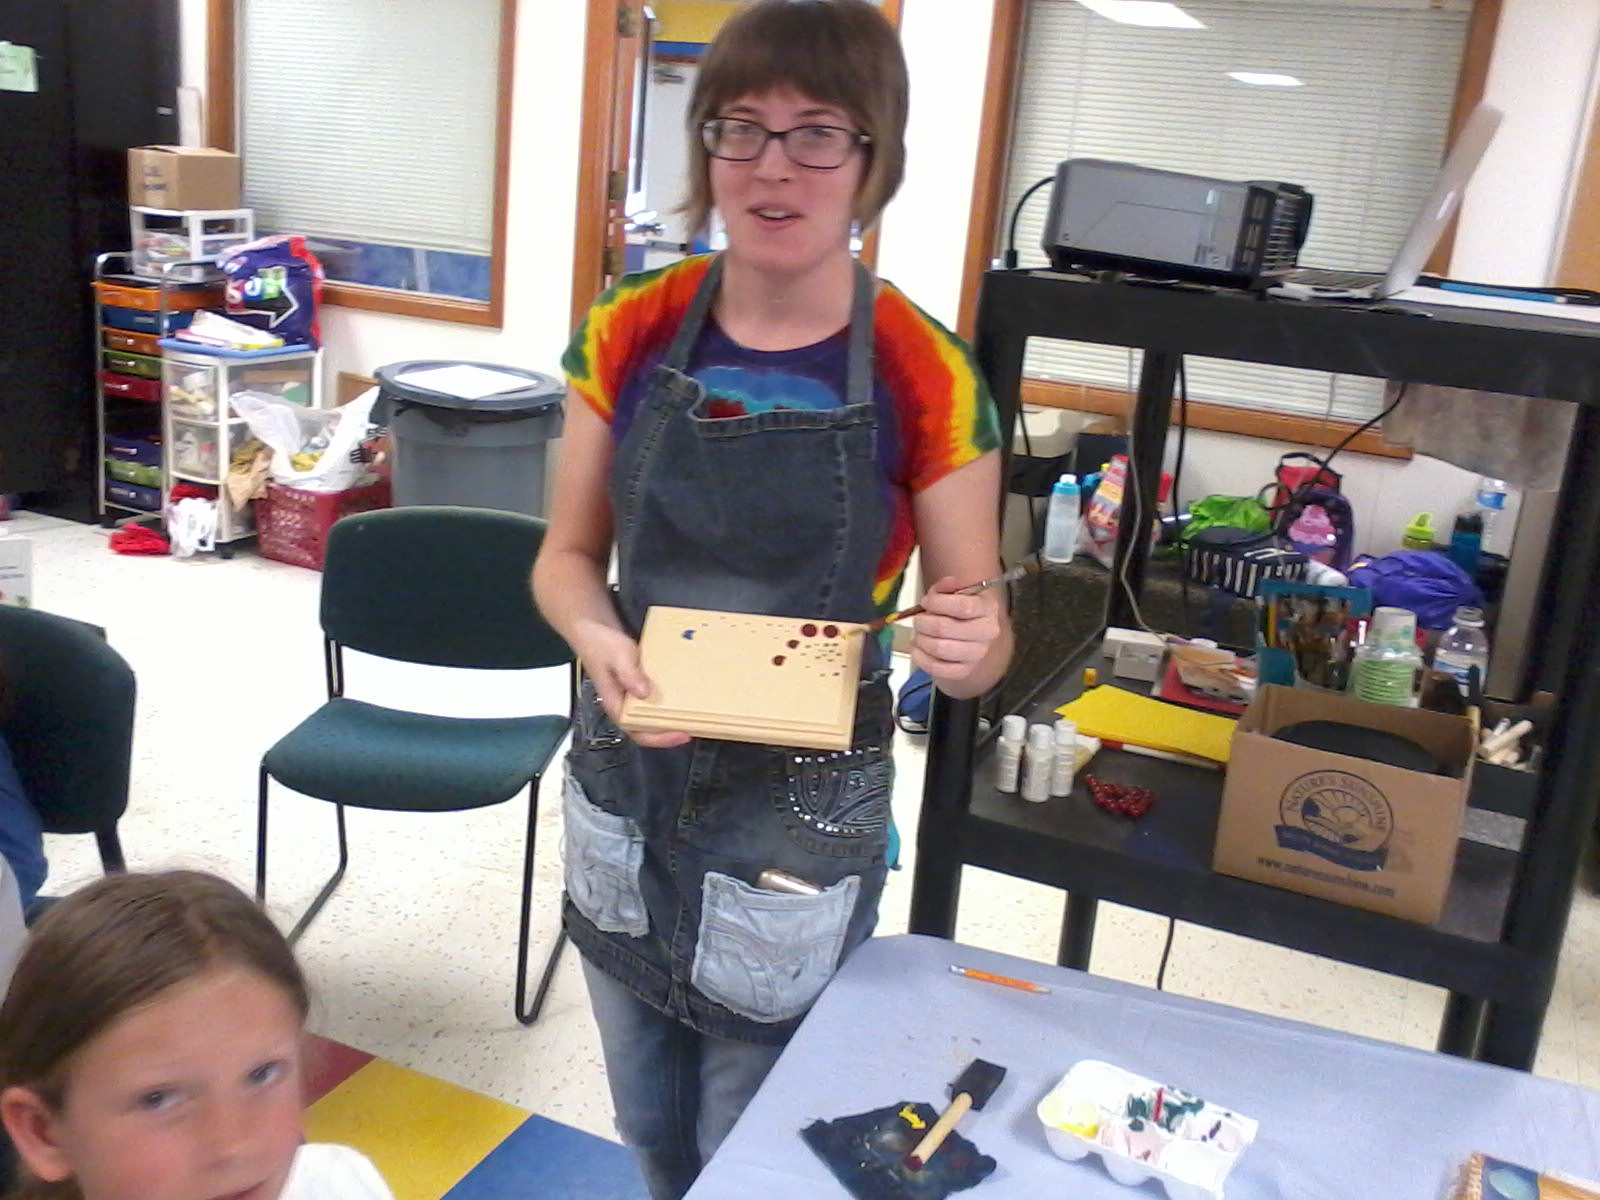
3rd day was off to a great start using polymer clay for 2 of our creations. Kat got to make custom colors for us tinting white clay with oil paints. It does not come off on your hands any more than the already colored.  we got almost no pictures of the sewn pockets but over half the camp had never sewn anything and did a great job. I kept hearing--first time I sewed a button on, first time I ever sewed. So much fun with the 7 layer masks that Kat created  using fun foam. The kids had to trace the patterns and fit them together. We were able to use a great donation of tiny clay pots to form our Kandy Korn Kritters. 

Friday, June 12, 2015

Painting and drawing I—from traditional to modern


We started art camp off this summer with a trip back in time to visit ancient art, medieval arts and then moved onto the renaissance period and finally to more modern art in America. We started by looking at Egyptian and Greek pots then painting a story on a clay pot in only 1-2 colors. It is a bit of a challenge to limit the palette that much but they made it! 
We moved on to the medieval period and discussed lettering in bibles and important documents and how they were decorated by the scribes with scenes or items relevant to the person. We used wood blocks given to me by the HOTT tole painters group that we had primed in gold for the campers.

Our last project was a fabric painting of an ancient Indian elephant with a lot of gold trim. Because I wanted them to concentrate on drawing the details on the elephant and painting it, the pattern was on their fabric. 


2nd day we moved on to looking at and discussing impressionists, well known artists and pointillism. We started with a tape resist and did a finger painted Monet bridge in his garden. Some of them were not very comfortable with the finger painting only tapping but in the end most did pretty well. the magic was when we pulled the tape off. the oooh and aaahs!  
I pulled out a variety of cloth bags for them to chose from and we talked about Van Gough and his sunflowers. Everyone then got to draw and paint their bags. 


 Kat got to teach the last project today on pointillism using examples from Seurat. I had a variety of wood pieces and we had several different size items for them to dot with.


Our final day started with a Georgia O'Keefe type watercolor. We looked at a number of her paintings both of flowers and of other scenery. We drew the set of morning glories then did wet painting of them. Finally all the kids got how to add paint into the water on the paper and help it move instead of just painting  with the watery paints. Lots of oooh and aaahs on this too. We did a bit of salting at the end too. 

Kat got to lead the Chagall circus scene with the camp and probably got the kids to draw more intricate figures than ever. Yes there were monkeys hanging by their tails too.  The scenes were very detailed. We did colored pencils to complete this one.


Lastly we used an unknown artist as an example and did a very different technique with them. It is a tree with lights in it on a moonlight background. We used the four colors without cleaning our foam brush--scary to not wash your brush!! We then drew the tree in with lots of branches and did dot on dot for our lights. It was really quick and they did a fantastic job. Always goes too fast.

many more pictures at Painting and drawing I

Monday, April 13, 2015

Many spring projects and beyond

We have been doing so many fun things lately and my gardening has taken a tole on sharing.
1-the bees turned out so well. Simple project using 1/2 wood egg, 2 wood hearts, a bead, a foam flower and a cork. They used markers to make the eggs yellow and sharpies to add detail. Thanks to my retired crafting friends for all the supplies.


2-I had plastic eggs, mulit-colored grass, ice cream cups and some colored feathers donated to me. They cried out for something fun and this did the trick. We added pipe-cleaner ears, more feathers, eyes and pompoms to make chicks in a basket and bunnies on a paper ring collar. I cut little triangles for the beaks from some left over fun foam. What fun!

3-We had a great time drawing and learning to paint a waterfall. I did one on the library wall in the story room over 12 years ago so we used it as our example. Everyone drew the pool of water and the rocks then painted them. We dribbled white paint on the edges and used toothpicks to create the moving water effect. You can see Ella standing in front of the waterfall on the wall in the pictures.
4-One of my favorite art camp projects from spring break: Our jeweled guitars set off a shopping frenzy with all the fabulous donations we had to choose from. Every kid had a story to tell me about the items on it and why they were chosen. We used heavy primed canvas as a base and dabbed a bit of paint on then before mounting then. Thanks to Austin Creative Reuse, our Wells Branch neighbors, and Katherine Sands gma for supplies!


5-What would Mardi Gras be without masks? We used masks cut from fun foam then pulled out all the feathers, beads, and jewels to trick them out. everyone made their own bands to hold them on from pipe cleaners so they are adjustable. 

Thursday, November 20, 2014

Thanksgiving turkeys and pilgrims

This time of year is so much fun to find things to make to decorate the tables with. We saved up our fat bottles from lemonade for a second go at turkeys and had enough leftover supplies to make it a total recycle project even the styrofoam balls for heads. 

This week we pulled out a bag of TP tubes and leftover construction paper and linen writing paper to create pilgrims to decorate our Thanksgiving tables, except the kids decided the pilgrims were puppets and added sticks to them from the glue pots. Nothing goes to waste with this group. I precut some of the paper and taught them how to make the circle hat brims for the guys. These are pretty detailed and had great faces on them. Lots of parental help on some of these but that makes it so much more fun. 

Wednesday, August 27, 2014

making sunset silhouettes @WBCL

Silhouettes are great concepts for art but hard for little kids to gasp. Doing personal silhouettes with this group is also a bit more involved than I can do in a short class. Kids do get shadows though and went for it. We drew several designs on a 1/4 page of black construction paper. My example was a barn, person, fence and tree but they could do what they wanted and they did.

Thursday, August 14, 2014

Creating projects with beads and altoids tins @WBCL

I have such a stash of beads and people give me more plus I have been known to buy a bag here and there like the beautiful gold ones from Oriental Trading that doing a project with them is always a creative surprise. The kids and adults are told at the beginning that these are what ever has been thrown into the bag left from other projects so who knows what is there. I gave the tins a quick coat of flat paint then put out beads in bowls and plastic lids of Aleene's tacky glue. There was some trading between tables to get a specific bead here and there too. The results are really nice and it is easy for kids of any age to do this with help from an adult--some of whom did their own boxes.

AD