Friday, March 15, 2013

All about birds art mini camp day 3


 This final day of camp was a little chaotic. We had to start lots of projects at the same time in order to get them to dry and be able to complete them. We started today by reviewing some of the facts and information about birds and nesting birds in Texas. We talked about the packet we would make for the birds to use in building nests. We also reviewed examples of dozens of gourd birdhouses before they began their projects. The campers selected the colors that they wanted to use to paint their birdhouses. There were a variety of different sizes and shapes of gourds that my friend Shelley gave us for this camp. We were able to utilize the tops of egg cartons in order to not get paint all over our drawings on the table. Every camper did their own take on what they thought would attract birds to their birdhouse.

We did a crushed eggshell base for a hummingbird painting. Each of the students selected a drawing of a hummingbird, cut it out, and pasted it to a piece of foam core board. We then covered the picture with tacky glue and they pressed on eggshells so that they would have a crackled surface. We set this aside to dry then colored them with bright colored markers. This project did not turn out as well as I expected but the campers were happy.
We also covered our surface for the scratch out using either crayons or dark-colored oil pastels. To complete the project they scratched out what looked like twigs for the nest all around the outside and then used a palette knife to scrape out 3 to 5 eggs inside the nest. They then colored the eggs with blue or pink pastel.

At every point the campers wanted to get back and finish painting their birdhouses. The idea of letting them air dry if there was a hair dryer available was not an acceptable option.
The two remaining projects were first to create a nesting materials bag from the mesh vegetable bags that I've been collecting filled with short pieces of yarn and string. Each end was secured with twist ties so it can be refill and attached a pipe cleaner on the end so it could be hung out for the birds.

The final project was to create birdseed reefs or bird food wreaths for the students to hang out in their yards at home. For this we again follow the directions I used to create these in January. I found this on Pinterest and it worked out quite well. This time we used fluted yogurt cups as our container. I had lots of help mixing up the ingredients much like a science project and then the students helped each other fill their cups, pressed the mixture in tightly, and made a hole using a pencil so that it could be hung on a ribbon.
Lastly they removed all of the items from their three ring binder and transfer them to the gray folder that they had decorated during the week. We punched extra holes along the edges so that they could hang the bookmark from Jeanette Johnson and other items like the nest bag and note bird. When we do this again we will definitely include constructing a pocket on both the inside front and back of the folder so that loose items can be more easily secured.
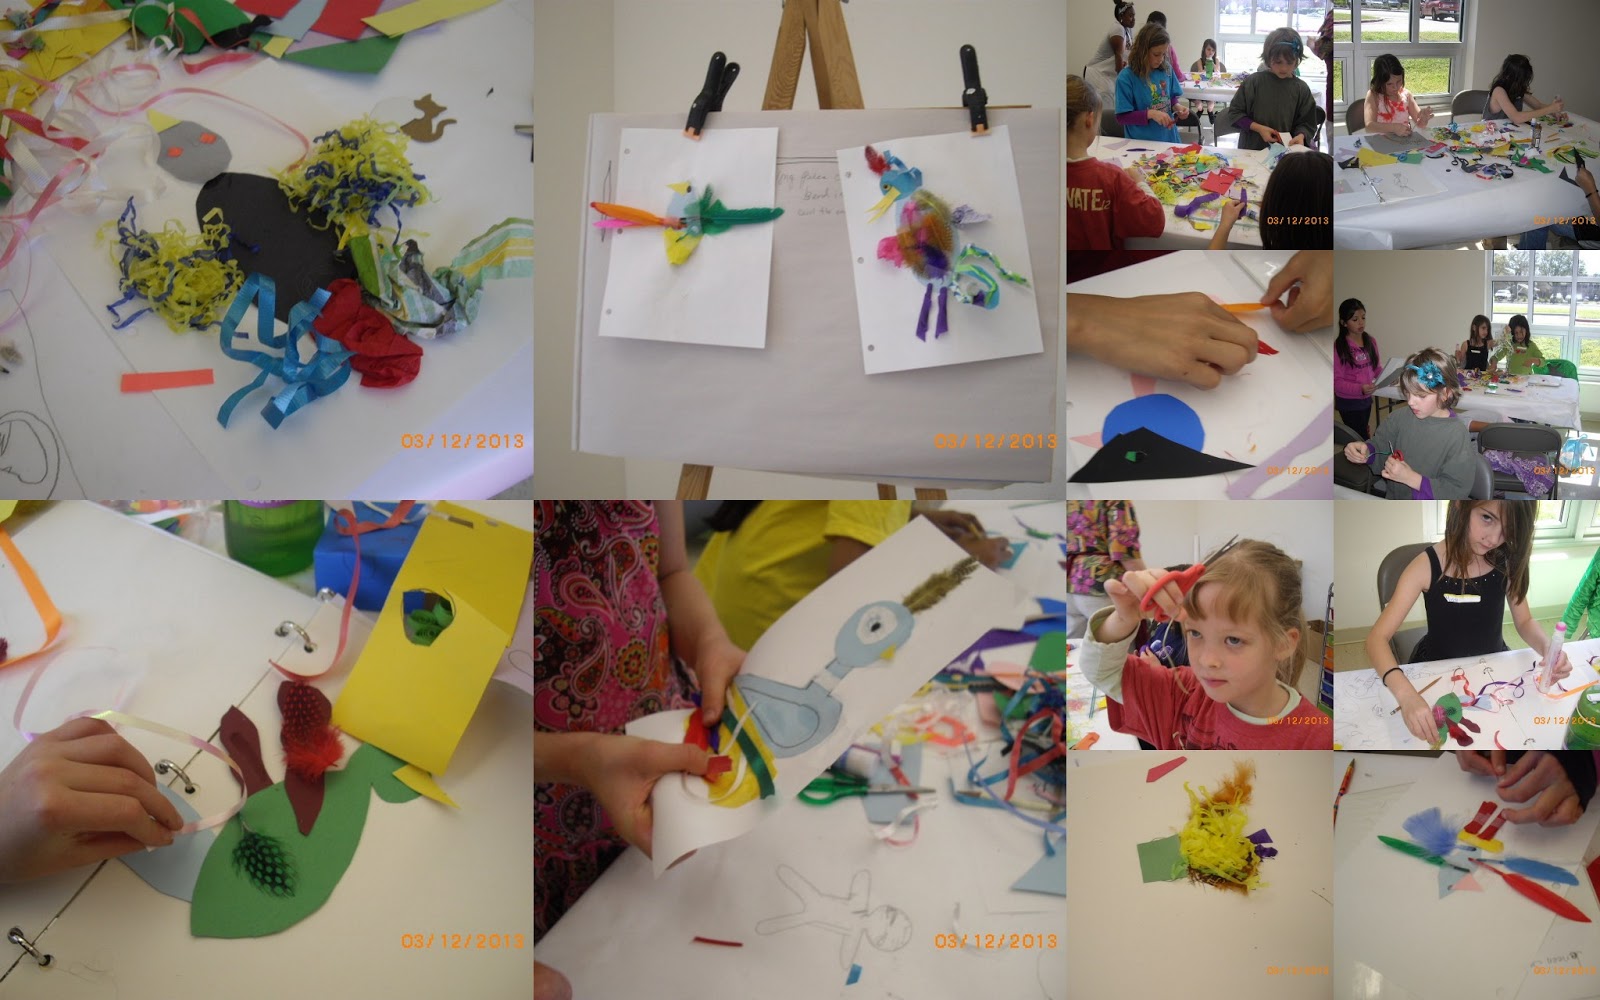
bird camp day 3
Book list for the week:
1. Charming Handmade Clay crafts
2. Creative Stamping in Polymer Clay
3. Draw 50 birds
4. Essential origami
5. Hummingbirds: hovering in nature
6. Making books that fly, fold, wrap, hide, pop up, twist, and turn:
books for 
7. Paper Quilling for the First Time
8. Quilling for Scrapbooks & Cards

1. Backyard birds of Texas: how to identify and attract the top 25 birds
2. The birds of Texas
3. The book of North American owls
4. Hawks
5. Pink!

Thursday, March 14, 2013

All about birds mini-art camp day 2


It was another day of day of nonstop drawing and creating. We discussed the various waterfowl in our parking in Texas, view photos of them on the Cornell site, then drew several of the waterfowl. The drawings of the heron, and egrets, and mallards were fantastic. They learned to transfer their drawings onto watercolor paper then did a watercolor painting of their mallards.
We also created songbirds from sheets of sheet music and mounted them on clothespins so they would be "note birds." During our last project of the day students elected several methods of completing their Firebird or Phoenix. Some chose to use watercolor, others opted for colored pencils or oil pastels. We took a brief walk out to the courtyard to see if we could identify any birds in our area then came back in and did a sketch of the ones we found.


click on the link to see more pictures of the day at camp:  bird camp day 2

Tuesday, March 12, 2013

All about birds Day 1

 What a great fun first day we had. We got to look at pictures that some of the neighbors sent to me herons and egrets and a few hawks. We started our day by creating a cover for the artwork that we will do this week. I had the kids draw what they wanted on the cover then some of them painted it in using texture paste. They will continue to add items to their cover all week. We spent about an hour doing drawings of owls and hawks. The step-by-step technique to do the owl and the hawk resulted in really great drawings. A few of our hawks, including mine, were a little fat. The wings and tails on them though turned out very well.
We then broke into a craft that was new for all of them. We talked a little bit about quilling and what it has been used for then began pieces to quill a card. We used the cut toothpicks as our quilling devices which worked pretty well. We did palm trees in green with a simple trunk then a pink flamingo. They learned how to shape the body, make legs and beaks, and shape a neck to put the whole thing together. Some went on to add suns, stars and other embellishments. It looks so hard and elegant. 
Last project was a multi-layer paper bird. Angel and Kat made samples on this one but the kids didn't need leading on this. They were supposed to make a big bird and they did. They used colored paper scraps, shred, tissue paper, streamers, ribbons and feathers in all kinds of combinations. We even had 5 minutes to clean up and get ready for parents.  For lots of pictueres take a look:  Day 1 picx
For a look at summer schedule go to my website.


Thursday, February 28, 2013

Fabric collage for black history month @WBCL

 This is a challenging project to do with the group that comes to this class. We pulled out two of the posters from the picturing America collection to use as a basis. I talk to the group about some of the history of the civil rights movement over the last 50-100 years. We also talked about elements of the Dr. Martin Luther King speech "I have a dream." Lastly we looked at examples of crazy quilting and talked about the reuse of fabrics. We then set about creating our design.
I encourage them to draw a person on large paper and then fill the clothing area with scraps of cloth from a selection that we laid out on the table. They were also given a pile of multicolored hands in order to compliment one of the phrases from the dream speech about children of all colors joining hands. The designs were great and everyone seemed to get a little bit of the message.

Monday, February 25, 2013

Making Mardi gras masks @WBCL

 We were a little late with this one but Valentine's day won out last week and we created the best Valentine's Day cards complete with envelopes.

 I cut masks from fun foam in a variety of colors then gave the kids a selection of materials to decorate them with. We used sequins,  beads from Mardi Gras necklaces, feathers, glitter, and a few other things the kids found in their baskets. 
This is always fun because none of the masks ever turn out alike. The kids love wearing masks and cannot wait to put them on.
Posted by Picasa

Friday, February 8, 2013

Smash art with 3D effects @WBCL

 This project was a lot of fun but some of the kids like a lot more order and had to be really enticed to fill the center with shred to do the project. (some never did) I saw this on Pinterest and we did our own version. I cut picture frames from foam board then supplied everyone with a backing, a pile of colored shred, a few puzzel pieces, pictures from a calendar, and some scrapbook edging. They got into it and this is what they created.
Posted by Picasa

AD