 Mosaic camp got off with a bang! We spent the lunch period looking at the history of mosaics including ones and the ones from La Maison Picassiette where he covered his entire house and garden in mosaics. We also looked at Aztec masks of a variety of materials and talked about thier use. The library has a large selection of books on mosaics that are available to the campers to view this week too.
Each group made a t-shirt (pictures coming) of an animal stamped using tiles cut from foam meat trays. We used regular acrylic paints for this project with good results. The turtle group even got to embelish theirs with metallics.
The groups then created Aztec masks using plastic masks I sprayed with flat black paint and fun foam squares to create the designs. Lastly we added a couple of feathers to the top of some of the masks. They were so popular that most of the campers wore them home!
Our last project was creating a bead mosaic on a small flowerpot or crystal light container. This was a bit chalenging as the round surface does not hold heavy beads well but hot glue (cool melt) to the rescue and the designs were coming out very well.
You will see us in the bright orange aprons donated by our local Home Depot for the art camps.
The Arts mini-camp is held at the Wells Branch Community Library and taught by Dianne Koehler.

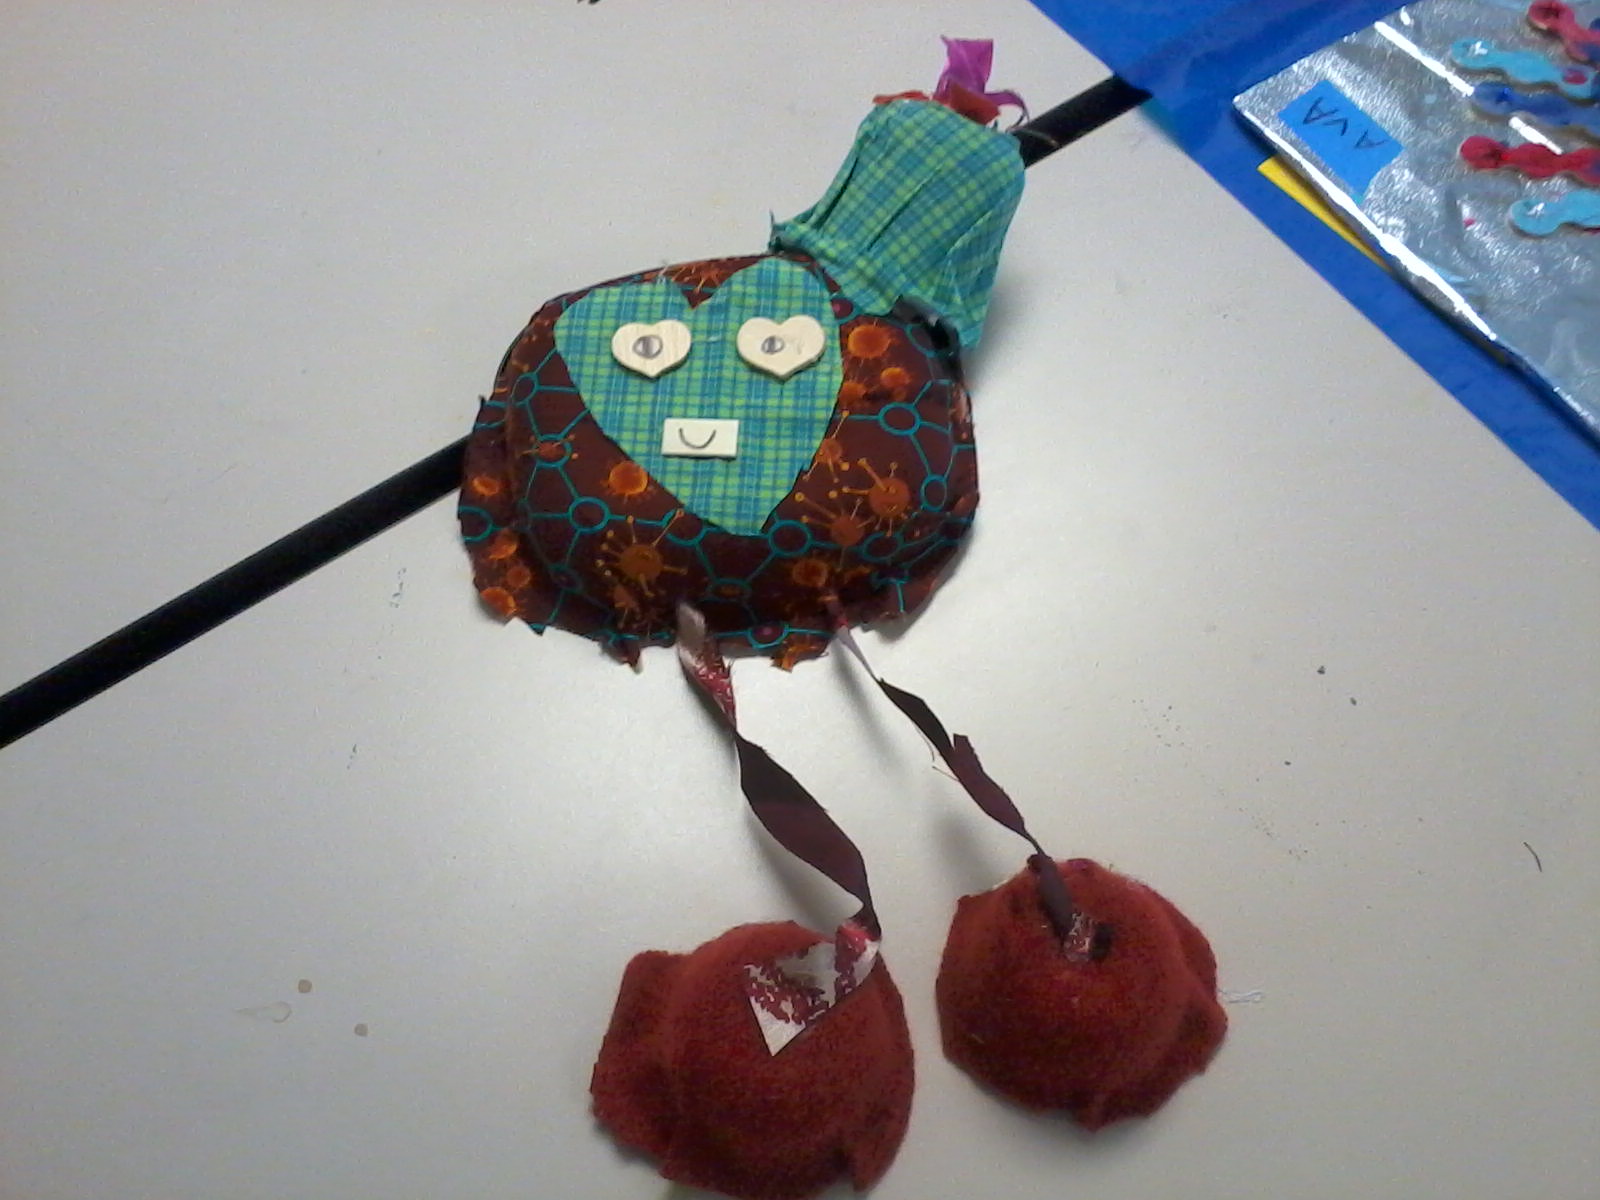 Not your Mama's art camp got off to a fantastic start with Mexican Peacocks and Kooky birds. This is Kat's first camp to be in charge of and what a great one it is. The kids are so creative and every project was unique.

 We used a variety of crafts sticks and wooden pieces for the peacocks then the kids painted them. Continuing with the birds theme we used small black microwave trays that the kids covered with fabric then the they added more fabric and other items to make a tail, head and LONG legs with very big feet. At the end of the day they got to do some painted feathers. We all learned a lot on those and the watercolor ones were the very best.


 2nd day and we were making Crazy critters from a piece of cardboard, construction paper, wood scraps, and plastic scraps. The kids really got into it though creating a real variety of critters. We moved on to a recycled project with berry boxes cut into shapes to make a sun catcher. Used tacky glue to adhere the gems then broke out the glitter for those who needed a bit more glitz.


 3rd day was off to a great start using polymer clay for 2 of our creations. Kat got to make custom colors for us tinting white clay with oil paints. It does not come off on your hands any more than the already colored. we got almost no pictures of the sewn pockets but over half the camp had never sewn anything and did a great job. I kept hearing--first time I sewed a button on, first time I ever sewed. So much fun with the 7 layer masks that Kat created using fun foam. The kids had to trace the patterns and fit them together. We were able to use a great donation of tiny clay pots to form our Kandy Korn Kritters.


